

Specular Highlights & Cross Polarization
/How to control unwanted specular highlights…
… in your macro photography.

the problem
Specular highlights are perfect reflections of your photographic light source - think catchlights in your models eye. Certain surfaces are prone to these polarized reflections, water being the one most often encountered. Specular highlights can be a desirable feature in some images, while being an irritating distraction in others. Water drop photography is a good example of where they can be problematic.

One way to lessen the impact of polarized reflections is to use a polarizing filter. This can work well when there is a single source of the reflection, but it it is much less effective when the highlights are coming from multiple light sources.
In macro photography, we often have the advantage of controlling all of the light falling on our scene, and when that is the case there is a powerful tool at our disposal - cross-polarization.
The cross-polarization technique requires that all of the light we are adding to our scene is polarized, and polarized in exactly the same orientation. Under those conditions, all the light that is reflected into our lens shares an identical polarity and can be effectively blocked by another polarizing filter, positioned with an orientation perpendicular to that of the polarized light sources.
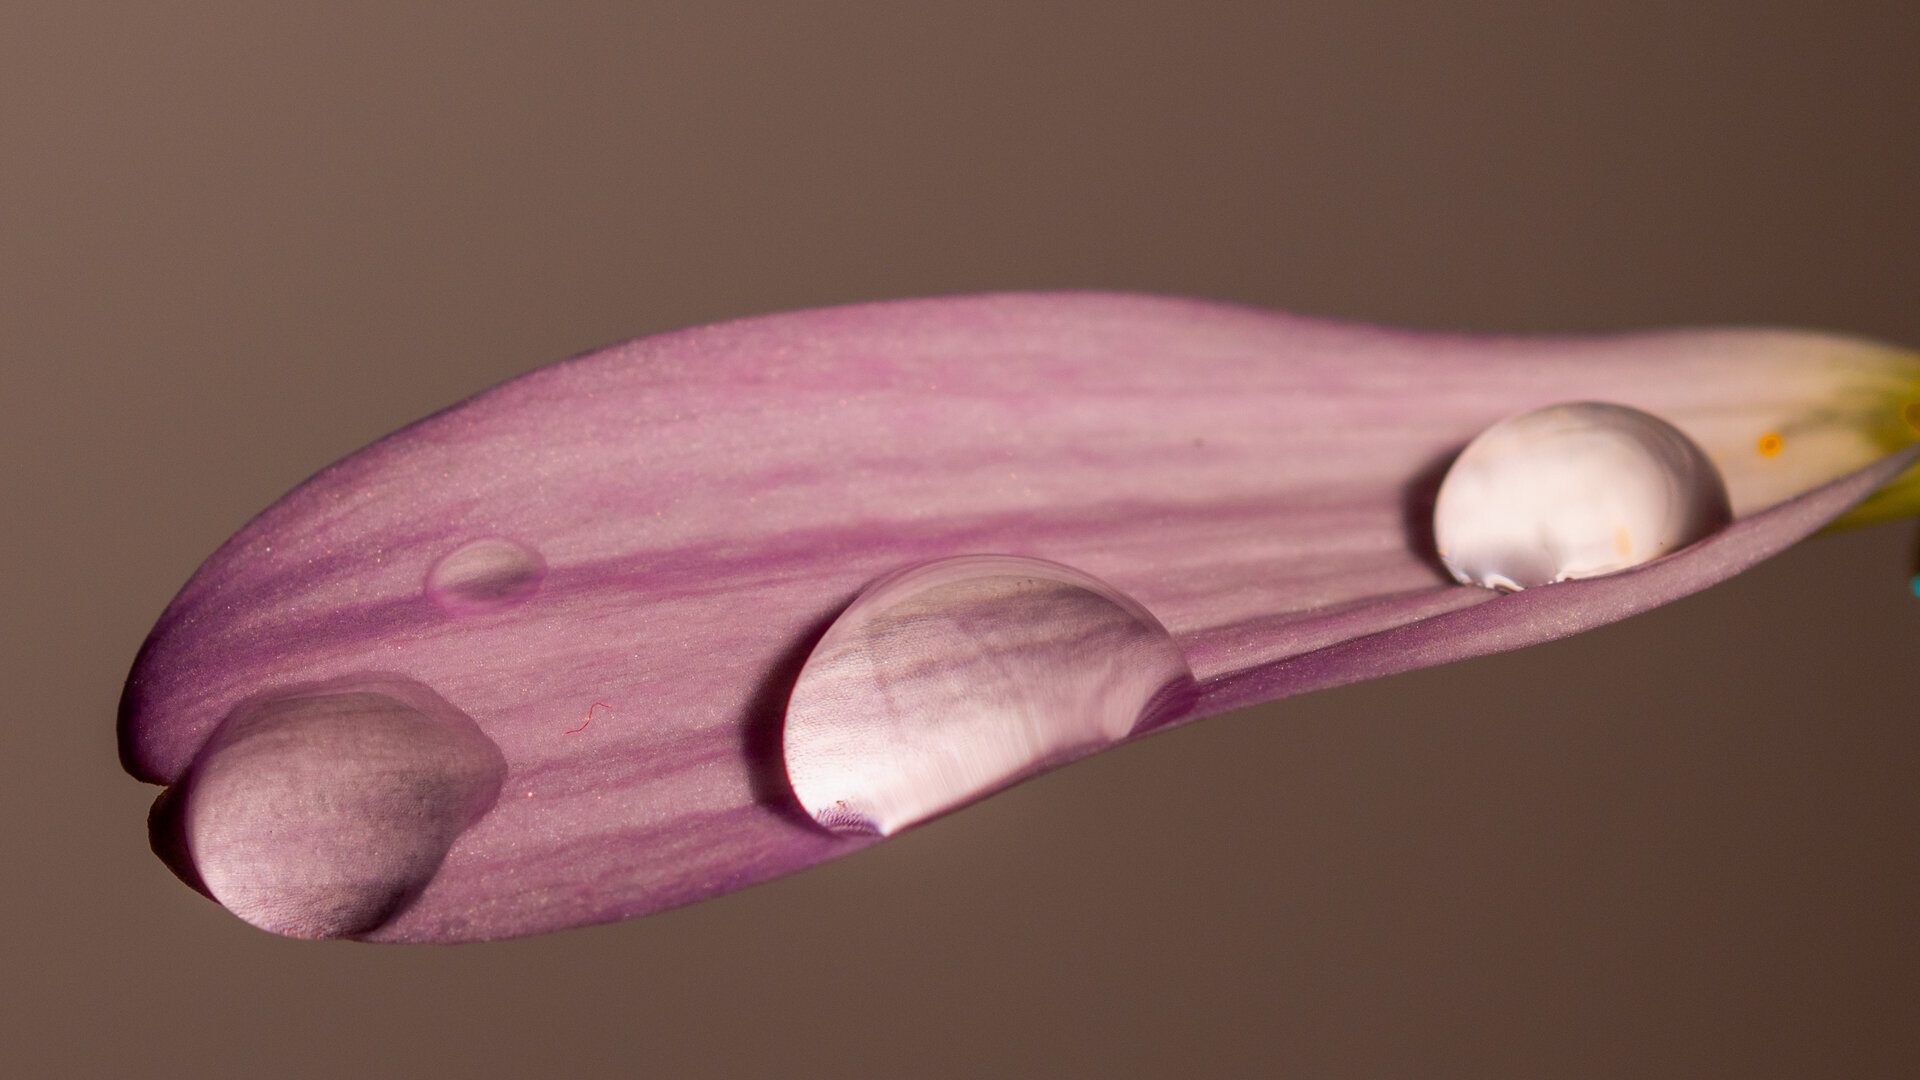
Cross-polarization has removed all the specular highlights from these drops
From a practical standpoint, it would be very helpful if we had a way to control the orientation of all our polarizers. Otherwise, ensuring the polarity of all your lights are identical becomes very difficult. My solution to this problem involves a simple DIY polarizing filter mounting system with indexing of the various filters. This is what they look like…

A dual light cross-polarization setup
This video includes a section that shows you exactly how to create your own cross-polarizers, as well as showing you how to set up and use the kit.
If you would like to build a couple of these very useful gadgets yourself, here is a list of the materials used and a downloadable cutting diagram.
1) Circular polarizing filters - you need one for each light source and one for the camera. I recommend using a matching set of decent filters. I love these Hoya Pro1 filters and use a 62 mm filter on my camera and 77mm filters on each flash unit.
2) For flash, I prefer the inexpensive but awesome Godox V860-II
3) You will need a reliable flash trigger as well. My preference is the Godox X-1T N, but any good trigger should work.
4) The floor tiles that I prefer are 3/8” thick and come in packs of four. They are perfect for this project but I also use them as shock-absorbent bases for a multitude of projects.
5) The thinner foam is also EVA and comes in a variety of thicknesses. This is another product I use in many different ways in the studio. They make excellent macro backdrops! Be sure to get the larger 12”x18” size.
6) Arguably the most important ingredient in this project is the cement. There are a ton of “other” brands, but the DAP is by far the best I have used. I used to buy it in little bottles, but the cement tends to harden in the smaller vessel. The can is a much better deal.
7) Any craft knife will do, but these NicPro blades are the only ones that stay sharp when cutting foam (that I have ever found, at least!)
8) This is a very good time to buy the Nikon D7500 - my go-to camera for APS-C macro. All the bells and whistles of my main camera, at a fraction of the cost. My favorite body for high magnification stacking.
Important note:
Remember to align all your CPL filters to ensure that all specular highlights are removed when you adjust your camera polarizer.
And finally, here is the cutting diagram. Note that these dimensions are intended for use with 77mm CPL filters. You will need to adjust the dimensions according for filters with different diameters.
If you have any questions, please let me know.